
If you are a camping enthusiast, you know how important it is to prepare well for a stay in nature, away from the hustle and bustle of the city.
One of the most important things to consider before embarking on a camping adventure is how to pack a cooler if you want your trip to go smoothly. Not only will you have more usable space for food and drinks, but you can also keep them fresher for longer.
However, mistakes can happen to camp beginners and seasoned adventurers alike.
For instance, we have been camping for years, but once we arrived at the destination, we realized that we didn’t freeze our food properly, so less ice caused the cooler to melt faster and food spoilage. After all this, our camping trip was mostly a failure.
It is just one of the situations that can also happen to you. But don’t worry; after our unique experiences and detailed research on other people’s mistakes, we compiled valuable tips and tricks, so you can learn how to pack a cooler for maximum efficiency and longevity.
So keep reading, avoid trouble, and master the art of cooler packing.
In this article, you will find out more about:
- How to prepare the cooler before packing food?
- How to select the best cooler for your needs?
- Find the right size cooler for optimal storage and efficiency
- Chill out: an easy way to cool your drinks with ice blocks!
- How to pack a cooler – the intelligent and organized way
Let’s get started!
How To Prepare The Cooler?
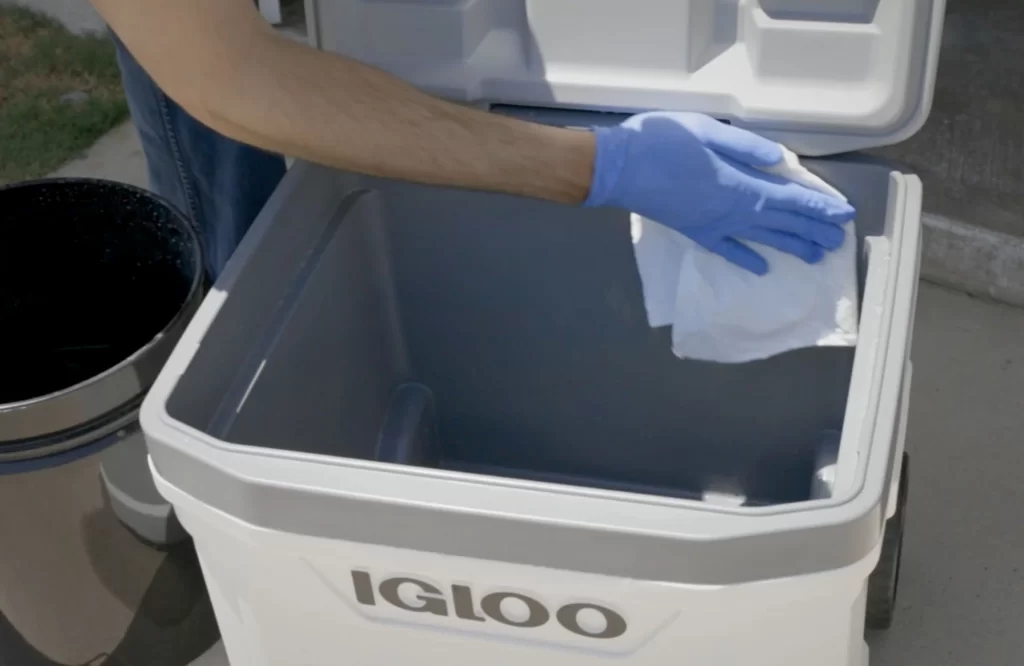
Preparing your cooler before packing ensures your food stays safe and fresh. If you have kept it in storage at home for a long time, it has probably accumulated dust, so first, you will need to clean the cooler.
To prevent bacteria, take the following three steps:
- Start by cleaning the cooler with a detergent
- Wash it with warm water
- Let it dry
An additional tip is to line the inside of the cooler with several layers of paper or towels to absorb moisture or condensation. We recommend keeping the cooler in a cool room so the food you put inside maintains the required temperature.
Also, it’s an excellent idea to pre-cool your cooler in the freezer, preferably one night before your trip, so that you’re ready for packing the next day. Otherwise, food that is not frozen will affect the drop in temperature in the cooler, and thus, food spoilage.
For example, if you’re bringing meat, chicken, or steak on a trip, it can be a weight-based substitute for ice that allows the inside of your cooler to stay at an adequate temperature for longer.
As you can guess, it’s all about creating an excellent strategy for arranging the ingredients and keeping in mind the ratio of ice to food, like freezing water bottles, which will save you money instead of buying ice blocks. If certain foods can replace ice, that idea is more than the original.
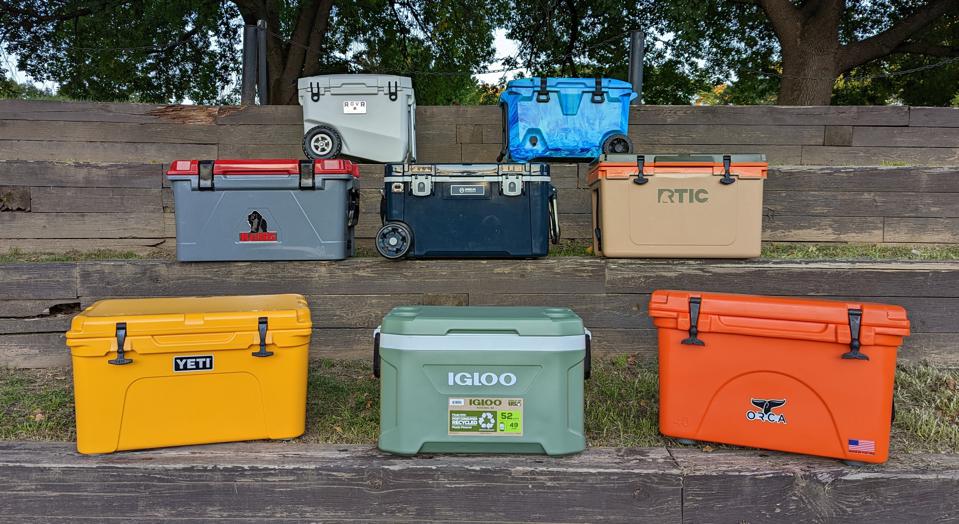
How To Select The Best Cooler For Your Needs?
You certainly want the best food and drink cooler designed for your needs. Therefore, it’s crucial to consider the size and weight of the suitable cooler so that you have enough space to pack food and drinks.
Depending on the length of your trip and the amount of food you’re carrying, you’ll know how to determine whether you need a larger or smaller cooler.
If you have a cooler doing the job for a while, you have nothing to worry about. But keep in mind that there are additional features in newer coolers that offer an upgrade with better insulation, meaning better insulation material and construction, such as tight-fitting lids.
Also, check different high-performance coolers brands and their reviews to make sure it meets your needs and expectations.
Find The Right Size Cooler For Optimal Storage And Efficiency
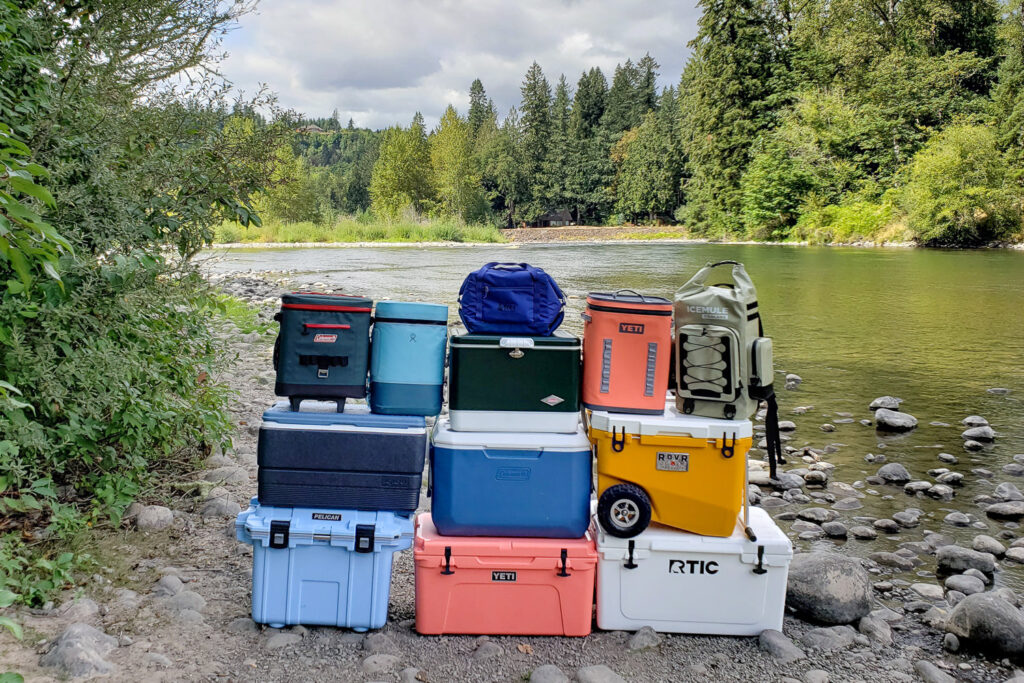
Sizing your cooler accurately is an intelligent way to ensure your food and drinks stay cool and safe for consumption. Choosing a cooler large enough to fit all the food and drinks and maintaining an appropriate temperature is essential.
Accordingly, your cooler should have an ice-to-contents ratio of at least 2:1. If you plan to bring more food on your camping trip, a larger cooler will give you extra space for all your groceries. Even if there is excess space, you can use ice cubes to fill those gaps.
For instance, we bought a 35-liter cooler but realized we needed more because of the more significant amount of food. Instead of taking a 45-50-liter cooler, we had to throw out some food. Based on this, try to choose the cooler size considering the food you’re taking and the length of your stay in nature.
Chill Out: An Easy Way To Cool Your Drinks With Ice Blocks!
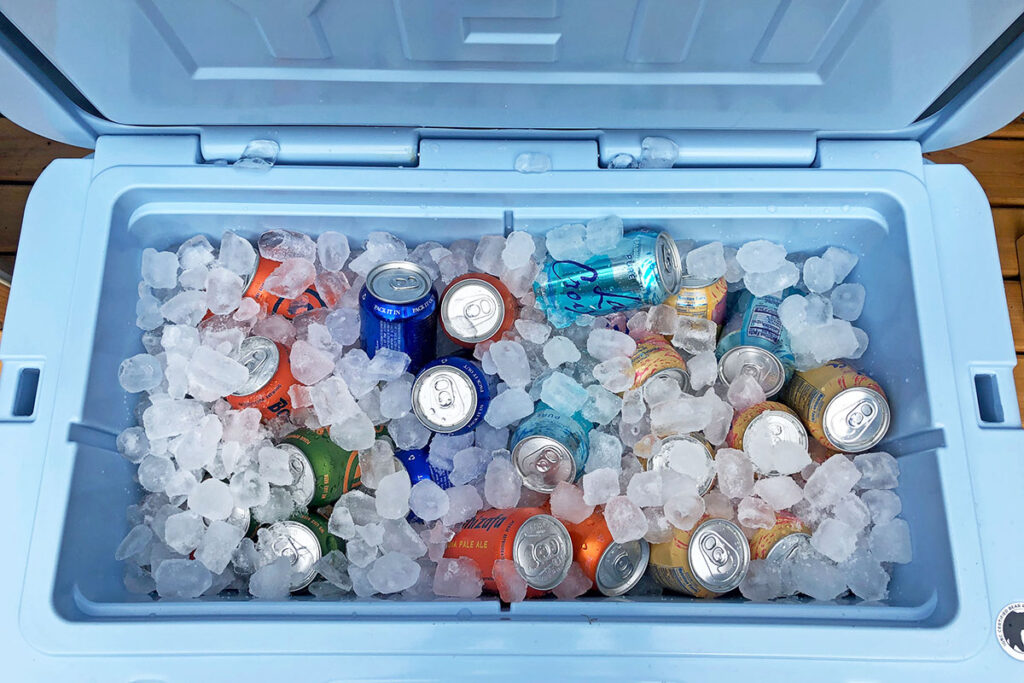
Preparing ice for the cooler is essential to keep your food and drinks at the optimum temperature to prevent rapid ice melting. Before putting food in the cooler, freeze food and drinks or ice packs to keep the interior cold, and clean the cooler.
Then line the bottom of the cooler with a layer of ice, and place food and drinks on top of the ice. Finally, add another layer of ice to ensure the contents stay cold. Don’t forget to use clean ice every time to avoid cross-contamination.
Ice blocks are the best solution for maintaining the temperature in a cooler, and you can make your ice at home by freezing cooler water in waterproof containers. Some coolers also have built-in reusable ice packs to fill with water and freeze to keep food and drinks cold. Ice retention in this way is a very rational move.
They’re harder to melt than cubed ice. Crushed ice can serve another useful purpose, like cooling your cocktails. You will always benefit from ice, and knowing which one you use for what is essential. It’s good to know that you can buy dry ice that melts faster.
Besides, you can always upgrade your cooler by adding a layer of insulation, like bubble wrap or newspaper, between the ice and the items in the cooler will help keep cold air in and warm air out.
Finally, fill the space with remaining ice for even more insulation and cooling.
How To Pack a Cooler – The Smart And Organized Way
Now that you have prepared the cooler for use and the frozen food you will take on the trip, it’s time to move on to the most crucial phase – how to pack the cooler.
To pack a cooler like a pro, you should have a few essential things in mind.
Here are 7 simple steps to a perfectly packed cooler:
- Create a cooler map for easy camping
- Keep your food organized
- Group similar foods together
- Line the bottom of the cooler with a few layers of ice
- Place a reusable freezer sheet on the top
- Place the lid on the cooler and make sure to seal it tightly
- Clean and air-dry your cooler after your trip
Create a Cooler Map For Easy Camping
Making a map of your cooler while camping is a great way to create the most of your storage space and know exactly where your groceries are. It’s best to list the food and drinks you plan to bring and determine where you should place them.
You can also designate a place for leftovers, so you don’t have to dig around for the cooler.
Label each area with a sticky note describing the food item. Finally, remember to keep this map in a visible place and always have it handy in case you can’t find something.
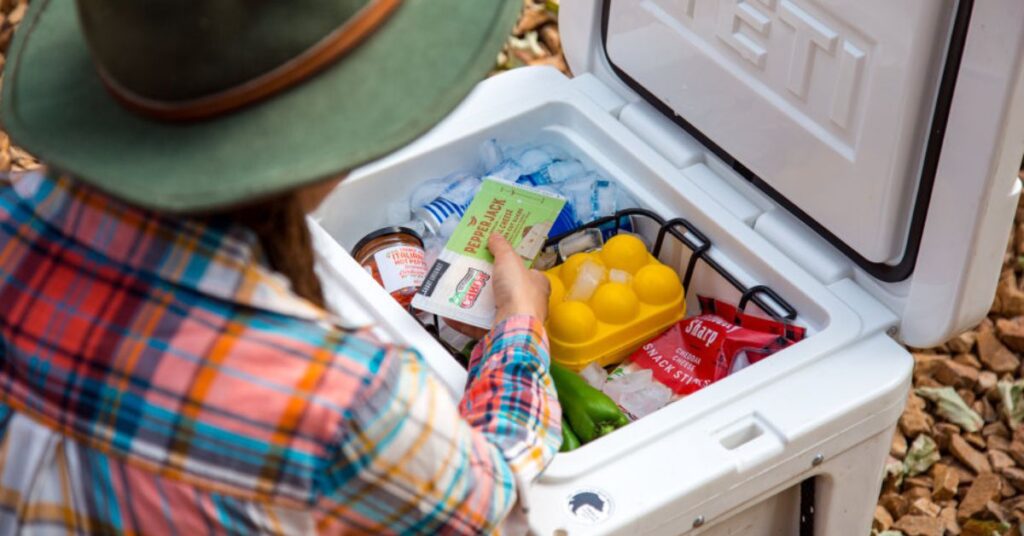
Keep Your Food Organized
The cooler organization is vital for more efficient food storage. Create food sections inside the cooler and arrange them in order of priority. If you know precisely where your particular food is, you will not risk your cooler being open for a long time and exposed to summer heat. Keep your food well organized if you want to use it all.
Start by packing everything in watertight containers or bags. Label your containers so you know what is inside, then start food prep.
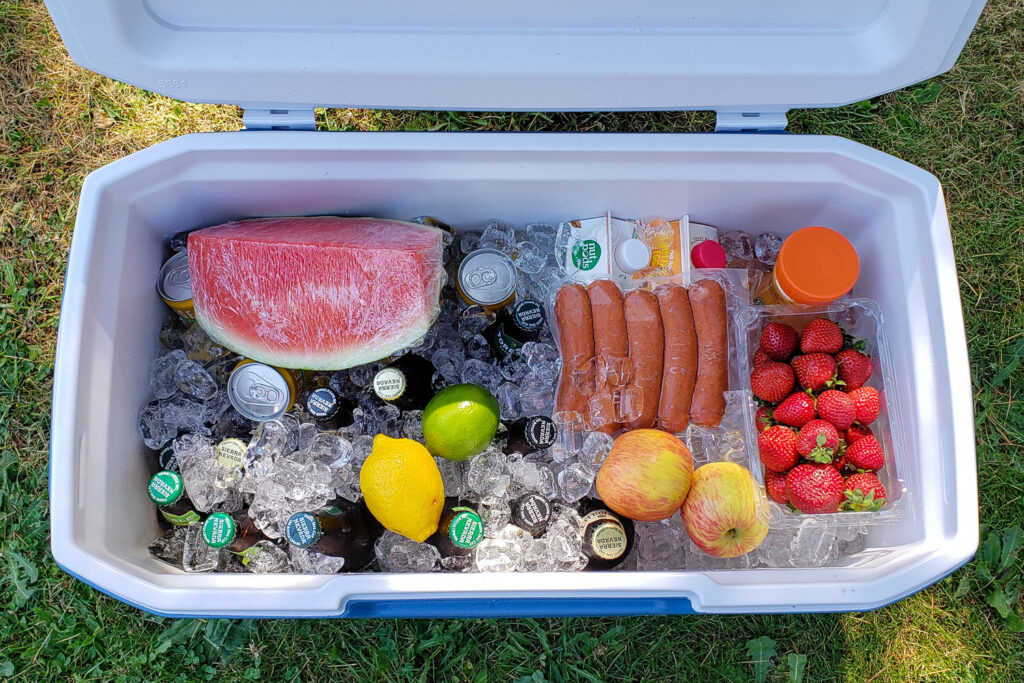
Group Similar Foods Together
By grouping similar foods together, you maximize the cooler’s efficiency. Place anything that needs to be cold at the bottom of the cooler, for instance, cold beer, as a natural refreshment for less heat. Place them in smaller containers if you pack foods such as sandwiches, hot dogs, and salads.
Keep fruits and vegetables together and dairy and meat separate to prevent cross-contamination of tastes, smells, and textures. It is imperative when storing raw meat, poultry, seafood, and other perishable food items.
Line The Bottom Of The Cooler With a Few Layers Of Ice
It’s essential to ensure the layers of ice are thick enough to trap the cold air but not so thick that they form melted ice water at the bottom of the cooler.
Layers of regular ice also act as insulators, helping keep the cooler’s temperature more consistent. Periodically refilling the cooler with more fresh ice can help extend the cooling time further. Spread the glaze evenly to ensure food safety.
Place a Reusable Freezer Sheet On The Top
If you want to fill your entire cooler, we recommend a reusable freezer sheet that you place on top. Their role is to keep the cold and prevent the entry of warm air. It also helps prevent food from getting soggy or wet due to condensation.
Its insulated interior helps maintain cool temperatures for more extended periods. It is easy to clean, which makes it a brilliant choice for any outdoor activity. It also fits easily into any cooler, so you can be sure your food and drinks will stay cold.
Place The Lid On The Cooler And Make Sure To Seal It Tightly
Your cooler should always be properly closed. You can use some tape to ensure the cover is well-sealed and won’t come off quickly. This will keep your food cold and fresh for a more extended period.
A well-sealed cooler will prevent any contents from spilling out and creating a mess.
Clean And Air-dry Your Cooler After Your Trip
After camping, it is essential to clean and dry the cooler. This way, you remove all bacteria, dirt, and debris before they cause more significant problems. It is also important to air dry the cooler in a cool, dry place to prevent mold.
We know the trip can exhaust you, but after you get home, take some time to clean the cooler and save yourself time for the next adventure.
Here Are Some More Tips
How you transport the cooler and where you keep it in the vehicle are equally important.
When transporting the cooler, it’s necessary to maintain its temperature and insulation. We recommend transporting coolers in a truck or van because that will be most protected. If you go by car, find a good place.
Also, place the cooler safely in the vehicle so it doesn’t accidentally open or spill food during transport. It’s essential to ensure the lid is tightly closed.
When you come to the campsite, place the cooler in a place not exposed to sunlight and heat as much, such as under a picnic table or somewhere in the shade. The sun, as the primary heat source, will harm the cooler.
FAQ
Should you pack ice on top or bottom of the cooler?
Packaging ice on top of the items in your cooler is generally best. It is because the ice will help to keep the things inside the cooler cold, while the items in the cooler will help to insulate the ice and keep it from melting too quickly.
If you pack the ice on the bottom of the cooler, it will be in direct contact with the warm ground, which can cause it to melt faster. Additionally, the items in the cooler will be less effective at insulating the ice when they are on top of it, as they will not be in direct contact with the cold surface.
To help keep the ice from melting too quickly, you can also use block ice or dry ice, which are more effective at maintaining their temperature than regular ice cubes.
How do you pack drinks in a cooler?
Pre-chill your drinks: Before packing them in the cooler, place them in the refrigerator or freezer to chill them down. It will help to keep them cold longer.
Use ice or ice packs: Fill your cooler with ice or ice packs to help keep your drinks cold. Be sure to pack the ice or ice packs on and around the drinks to help keep them cold.
Pack drinks in the middle of the cooler: Place your drinks in the middle, rather than on the top or bottom, to help keep them cold. The center of the cooler will be the coldest part, as it is surrounded by ice on all sides.
Avoid opening the cooler too often: The more you open the cooler, the more heat you can enter, and the faster the ice will melt. Try to limit the times you open the cooler to keep the contents cold.
Use a larger cooler: A larger cooler will have more insulation, which will help to keep the contents cold longer. If you are packing a lot of drinks, consider using a larger cooler to help keep them cold.
How much ice do you put in a cooler?
The amount of ice you need to put in a cooler will depend on the size of the cooler, the ambient temperature, and the length of time you want to keep the items inside cold. In general, you should fill the cooler with a combination of ice and items, with the ice making up about 50% of the total volume.
If you are using regular ice cubes, you will need about 20 pounds of ice for a medium-sized cooler, 30 pounds for a large cooler, and 40 pounds for an extra-large cooler. You will need less if you use block ice or dry ice, as these types are more effective at maintaining their temperature.
Are You Ready For a Camping Adventure?
Now that you have a deeper look at how to pack a cooler, you may be ready for your next camping trip. While the list of things to remember can be long, we hope this article served as a reminder.
You can ensure your food stays safe and delicious by stocking your cooler with the right things, keeping your cooler out of direct sunlight, using block ice for the longest-lasting temperature, and organizing your food efficiently.
After all such great tips you learned, you can agree that packaging a cooler for a camping trip can be a breeze with good preparation. Now you know how to pack a cooler correctly. Have a happy camping and a great time outdoors!
But, if you want to plan which food to pack, look at our lists of easy and delicious camping breakfast, lunch, and dinner ideas that will take your adventure to the next level.
Also, you’ll need to prepare the rest of your camping necessities. Check our complete car camping checklist and set yourself up for a successful trip.
What do you think about this article? Feel free to write your thoughts, experience, and some fun stories in the comments. We would like to hear from you! Thank you